15 Bathroom Ceiling Ideas to Make a Statement
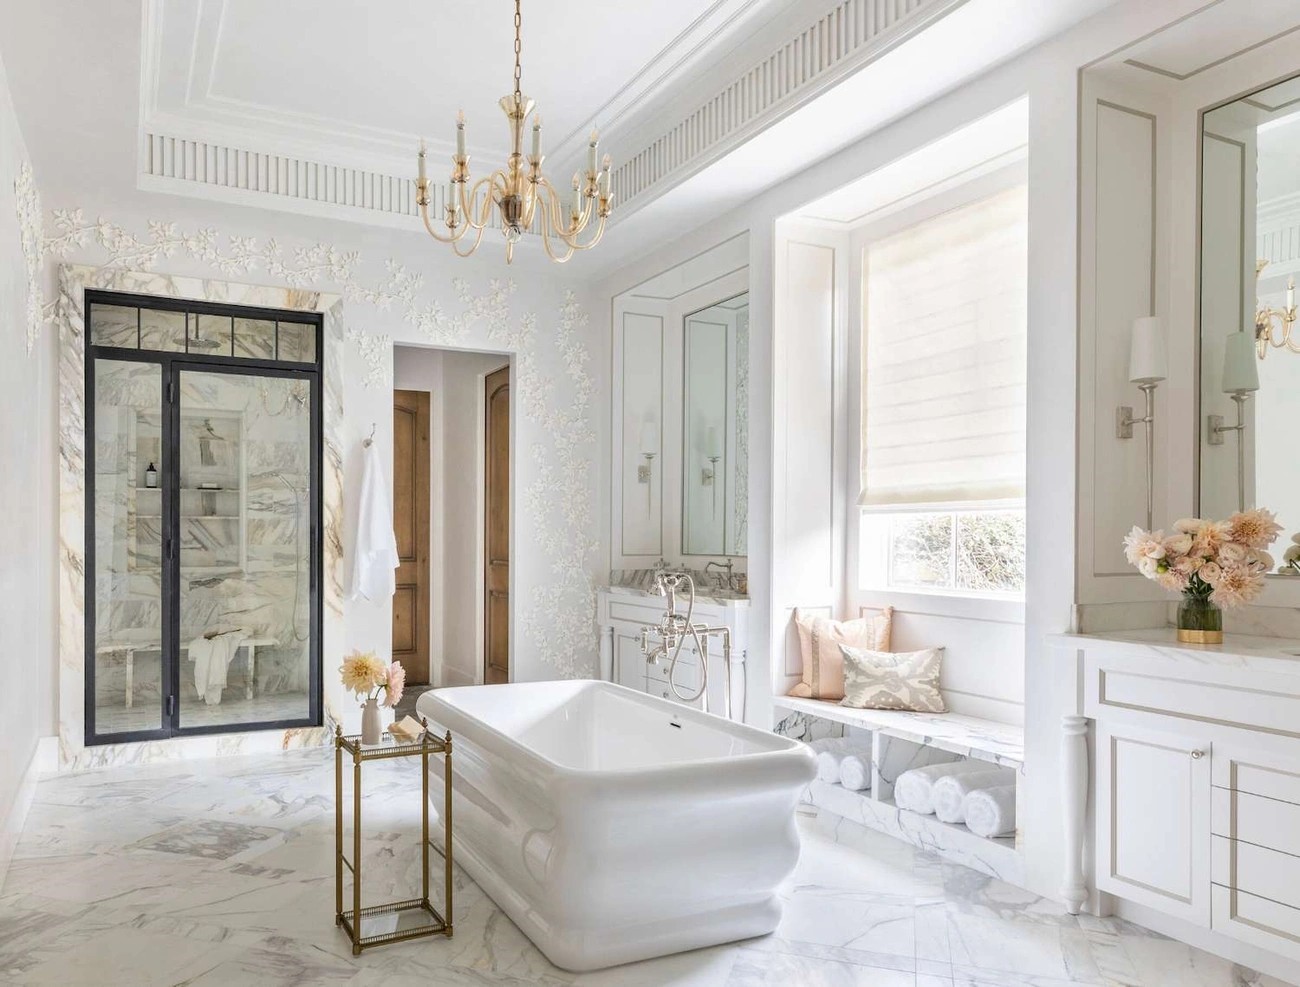
Have you ever looked up while in your bathroom and realized your ceiling is the most neglected design element in the space? Bathroom ceiling ideas are often overlooked, but enhancing the appearance of your ceiling can completely transform the room and add character to any bathroom.
When it comes to bathroom ceiling design, the possibilities extend far beyond basic white paint. In fact, you might choose to paint the ceiling in a bold or contrasting color for a cost-effective update. But that's just the beginning. For those looking to make a more dramatic statement, ceiling ideas for bathroom spaces include adding features like crown molding, wallpaper, tiles, or textures that can elevate the style of even the smallest bathrooms.
The best ceiling for bathroom environments should be not only attractive but also water-resistant and durable. We recommend considering materials like tile, water-resistant PVC, shiplap, or beadboard-style panels that can withstand bathroom moisture. Additionally, if you're renovating a top-floor bathroom with a slanted ceiling, why not install a skylight to bring in more natural light?
In this article, we’ll share 15 inspiring bathroom ceiling ideas that can turn your ceiling into a true design feature. From practical wood bathroom ceiling options to luxurious ceiling tile designs, you’ll find solutions that suit every style and budget. Just as planning a bathroom remodel requires thoughtful choices—similar to considering the costs to build a house—your ceiling deserves the same attention. It’s time to transform that forgotten “fifth wall” into the highlight of your bathroom!
1. Paint the Ceiling for a Quick Update
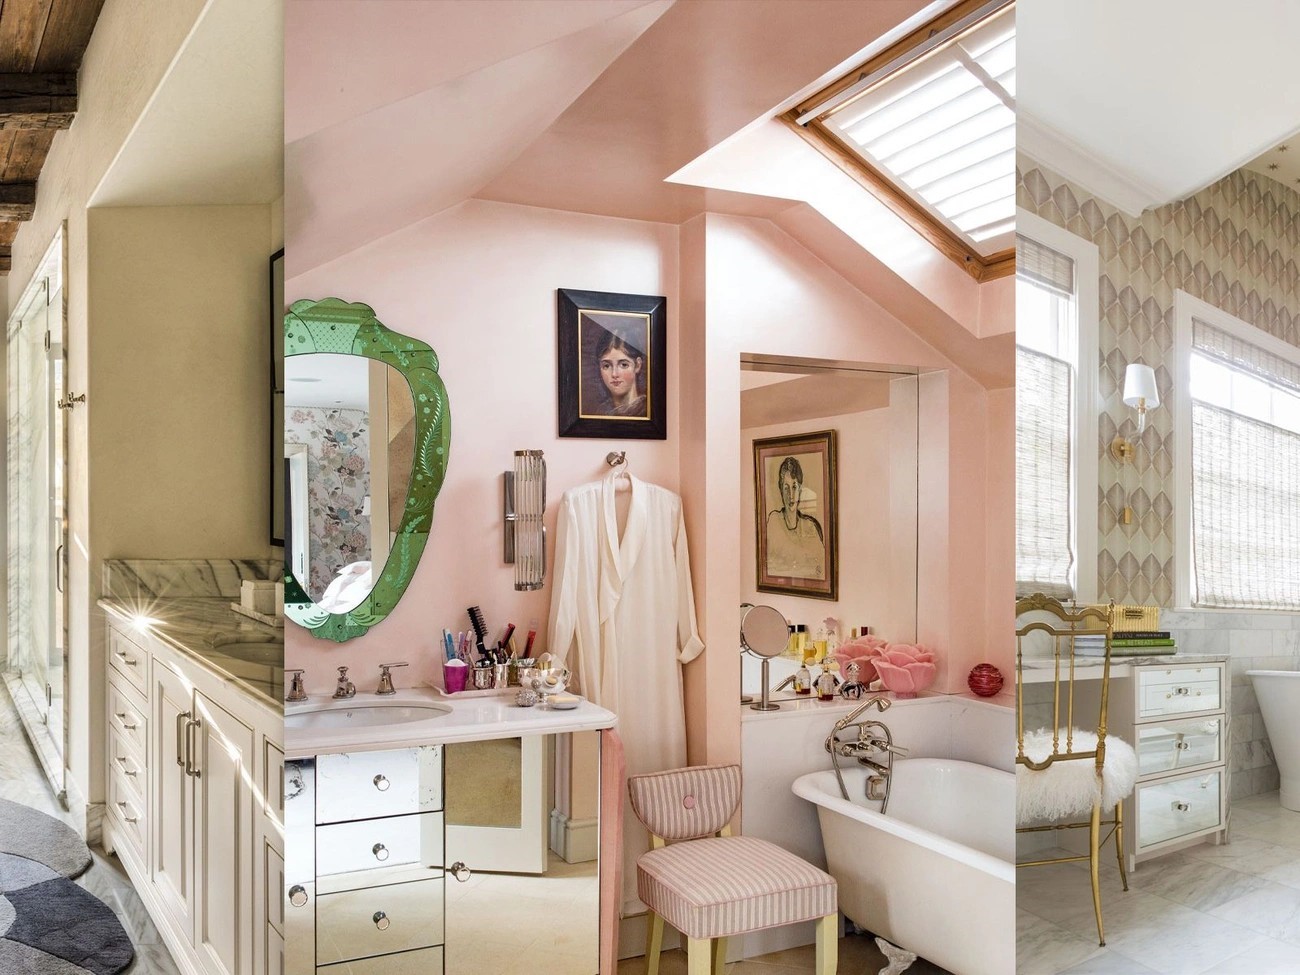
Painting your bathroom ceiling offers one of the quickest and most cost-effective ways to refresh your space. Unlike other renovation projects, a painted ceiling can dramatically change the atmosphere of your bathroom without requiring significant time or construction work.
Use bold colors for contrast
Gone are the days when white was the only appropriate ceiling color. Creating visual interest through contrast can make even small bathrooms feel more dynamic and intentional. Consider painting your ceiling black to enhance the room's coziness and establish a moody ambiance, particularly when paired with geometric black and white tile. Dark gray paint works wonderfully in small bathrooms, creating a cozy feel that complements gray-and-white wallpaper and white trim. Furthermore, you might extend a bold accent color from your walls to the ceiling's crown molding for a cohesive and intentional look that adds an extra pop of color.
Match ceiling with vanity or walls
Painting your ceiling the same shade as your bathroom vanity adds subtle color coordination that ties the room together. For instance, a soft blush pink on a shiplap ceiling can beautifully complement modern bathroom elements with vintage touches. Although many homeowners have traditionally chosen white ceilings with colored walls, painting the bathroom ceiling the same color as the walls has become increasingly trendy. This approach creates a seamless look from floor to ceiling, avoids hard line breaks, and can even make the ceiling appear higher, giving the entire room a taller feel.
Best paint types for bathroom ceilings
Selecting the appropriate paint is crucial since bathroom ceilings face unique challenges from humidity and moisture exposure. For bathroom ceilings, consider these options:
Satin finish: Offers slight gloss and moisture resistance with subtle shine that enhances lighting without excessive reflection
Semi-gloss paint: Highly recommended due to superior moisture resistance, ease of cleaning, and greater light reflection that helps maintain brightness
Water-based latex paints: Provides quick drying times, fewer odors, and excellent performance in bathroom environments
Regular flat white paint should be avoided for bathroom ceilings. Instead, opt for specialty paints formulated to resist moisture and mildew—such as Benjamin Moore's Zero-VOC Moisture Resistant Paint that combats mold and mildew growth even in the steamiest showers. Essentially, the best bathroom ceiling paint is one that prevents water absorption and limits mold growth while maintaining visual appeal.
2. Add Texture with Wood Panels
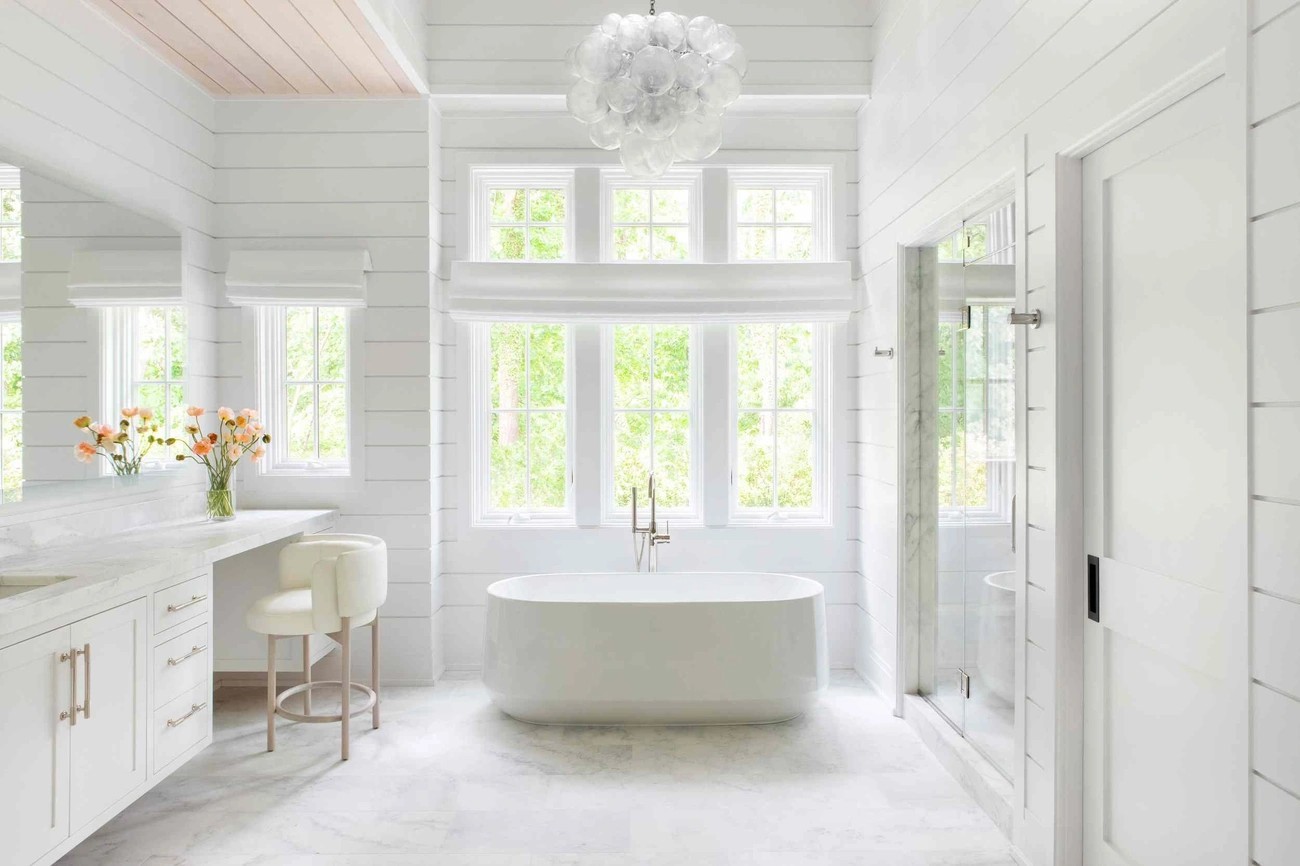
Wood panels offer a compelling way to elevate your bathroom ceiling beyond basic paint. Adding wood brings natural warmth and texture that instantly transforms the space from ordinary to extraordinary.
Shiplap and beadboard styles
Shiplap and beadboard represent two distinct yet equally appealing wood panel options for bathroom ceilings. Shiplap creates clean horizontal or vertical lines that lead the eye throughout the space, adding architectural interest even to the plainest bathrooms. For a modern shiplap look, consider using 1×6 boards installed with minimal gaps between planks. Alternatively, tongue and groove boards provide a similar esthetic with added moisture protection thanks to their interlocking design.
Beadboard, recognized by its characteristic narrow vertical planks, brings classic cottage charm to bathroom ceilings. Available in traditional double bead wainscot panels or larger plank-like styles, beadboard can be installed in approximately two days at a surprisingly affordable cost—around $100 in supplies for an average-sized bathroom.
Both options work brilliantly to conceal dated popcorn or textured ceilings without the messy removal process. For a polished look, finish the edges with crown molding, quarter round, or simple lattice trim to mask any gaps between the panels and walls.
Waterproof wood ceiling options
When installing wood in moisture-prone bathrooms, choosing the right material and proper sealing is crucial. For maximum durability in shower areas, teak stands as the premier choice—the same wood trusted in boat construction. Cedar offers another excellent option, commonly used in outdoor decking and saunas where humidity resistance matters.
For adequate protection, apply multiple coats of high-quality sealant such as Minwax Spar Urethane, paying special attention to the more porous edges of the wood. Before installation, consider painting the ceiling surface with outdoor-grade paint as an additional moisture barrier.
In full bathrooms with high moisture levels, avoid MDF shiplap, which can swell and warp with exposure to water. Instead, opt for PVC or AZEK tongue and groove panels specifically designed to resist moisture and rot. The Finished Elegance Collection provides another excellent solution, featuring four-sided coating that delivers exceptional moisture resistance without requiring additional paint.
Good ventilation significantly extends the lifespan of wood ceilings in bathrooms—a high CFM fan with proper ducting can effectively minimize condensation, keeping wood surfaces dry and beautiful for years.
3. Install Ceiling Tiles for a Luxe Look
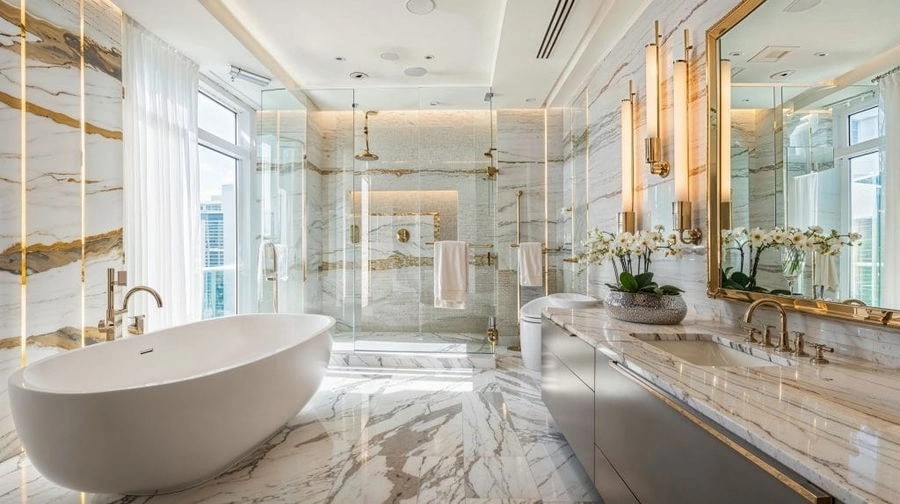
Ceiling tiles transform ordinary bathroom ceilings into stunning focal points that exude luxury. Beyond their esthetic appeal, properly chosen tiles can effectively manage the unique moisture challenges bathrooms present.
Best ceiling tiles for bathrooms
For spaces with high humidity, moisture-resistant options are essential. Porcelain, glass, and ceramic tiles stand as top choices for bathroom ceilings, offering exceptional durability while protecting against constant humidity. Waterproof ceramic subway tiles and glass pebble mosaics provide excellent moisture protection without sacrificing style. Moreover, PVC tiles represent another outstanding option, as they never rust and actively prevent mold or mildew formation in humid bathroom environments.
Tile materials: ceramic, marble, PVC
Each tile material brings distinctive qualities to your bathroom ceiling:
Ceramic tiles provide durability and moisture resistance while offering various colors and patterns—from texturized green subway tiles to elegant Salvador Home satin ceramic.
Marble tiles add unmatched luxury with rich, complex patterns that reflect light beautifully, creating bright, airy spaces. Hexagon Haisa Marble Mosaic Tile Light exemplifies how marble can add both modern style and moisture protection.
PVC tiles (faux tin) combine elegant designs with complete waterproofing. Their practical moisture resistance makes them ideal for bathrooms, generally costing between $1.25 to $2.50 per square foot. These tiles feature superior sag resistance, mold resistance, and soil resistance.
Ceiling tile layout ideas
Extend tiles from floor to sloped ceilings for a seamless, elegant appearance that visually expands your space. Alternatively, create a spa-like atmosphere by encasing your entire bathing area with matching tiles on floors, walls, and ceilings.
For smaller bathrooms with higher ceilings, consider using smaller tiles that are easier to install. Combining different ceiling tiles can create visual interest—try pairing classic bathroom colors like blue and white for a memorable design.
Glass mosaics in ocean-inspired colors (like Sky or Aqua Blue) bring a refreshing feel to bathroom ceilings while ensuring waterproof protection. For dramatic impact, matte black block 3D tiles offer sophistication along with moisture resistance.
4. Use Wallpaper to Add Personality
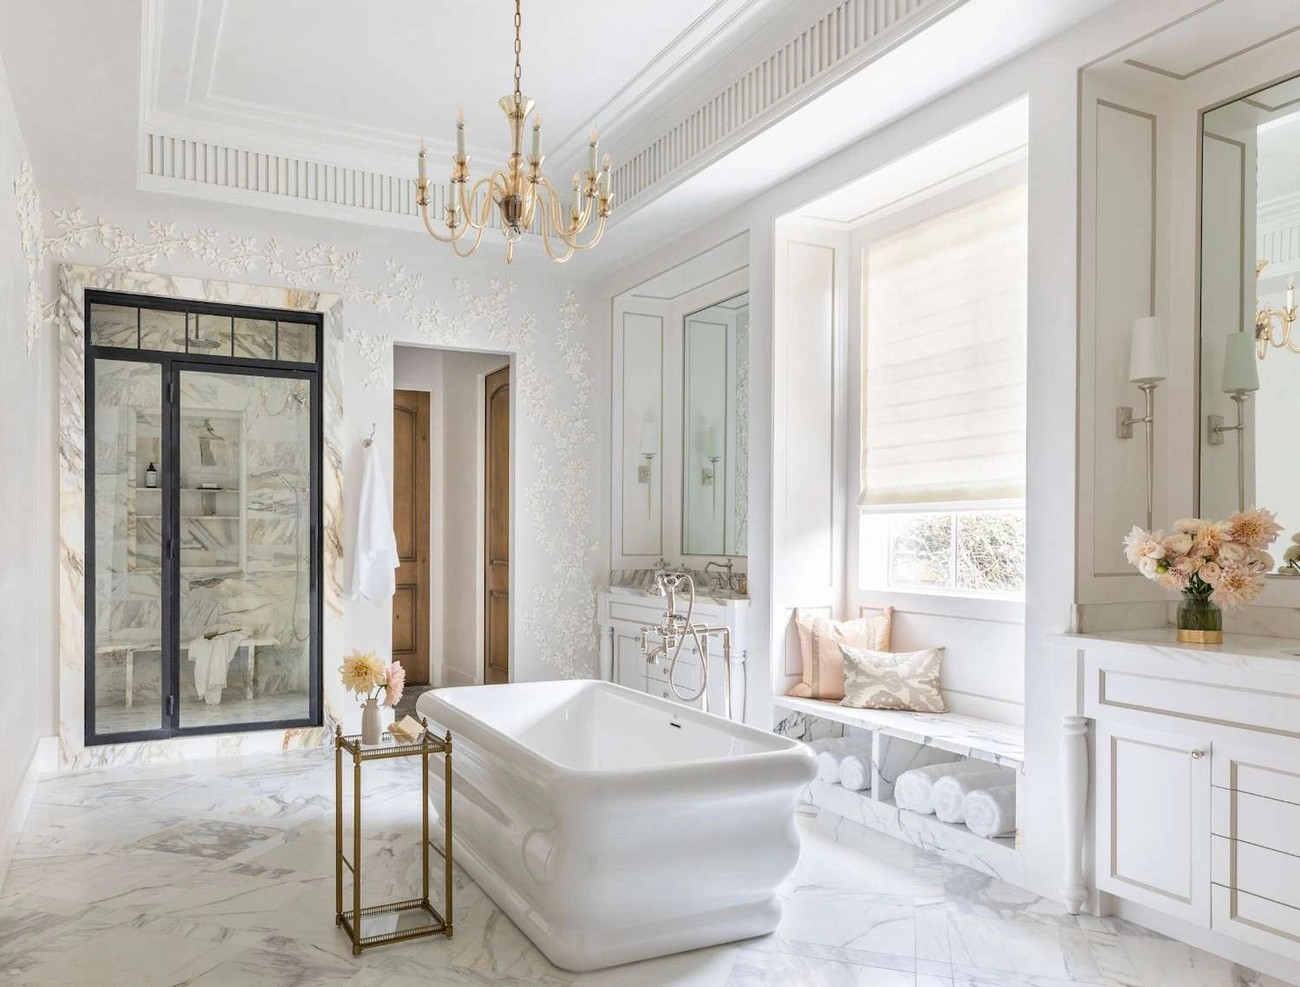
Wallpaper transforms a bathroom ceiling into the ultimate canvas for personal expression. Beyond being just another surface treatment, ceiling wallpaper allows you to surprise and delight with unexpected patterns, colors, and textures overhead.
Choosing moisture-resistant wallpaper
Not all wallpapers can withstand bathroom conditions, so selecting the right type is crucial. Vinyl and vinyl-coated wallpapers stand as the top choices for bathroom ceilings because they effectively resist moisture from showers and baths. For areas with high humidity levels, look specifically for products labeled "moisture resistant" or "water-resistant". These specialty wallpapers protect against steam and occasional water splashes while maintaining their appearance over time.
Proper preparation remains essential for longevity. Ensure your ceiling is completely clean, with all imperfections filled and sanded before application. Additionally, avoid applying wallpaper to freshly painted ceilings—wait at least 20 days for the paint to fully cure. Sound-absorbing wallpaper varieties offer the added benefit of dampening echoes in bathrooms with hard surfaces.
Wallpapering tray or sloped ceilings
Tray ceilings provide unique opportunities for creative wallpaper application. Consider installing wallpaper in the center and around the edges of a tray ceiling to create a striking focal point, especially when using contrasting colors. This technique highlights architectural details while adding depth to your bathroom.
For bathrooms with sloped ceilings, wallpapering requires extra consideration. Non-directional patterns work best on sloped surfaces as they eliminate the need to determine where the "top" of the pattern should end. Floral and toile patterns particularly complement the old-fashioned charm of angled walls and ceilings.
Though entirely possible as a DIY project, hanging wallpaper on sloped bathroom ceilings demands patience and finesse. Unless you have experience with wallpaper installation, hiring a professional for sloped surfaces often yields the best results. Nonetheless, with careful selection of moisture-resistant products and proper installation techniques, a wallpapered ceiling can become the statement piece your bathroom deserves.
5. Try a Dark Ceiling for Drama
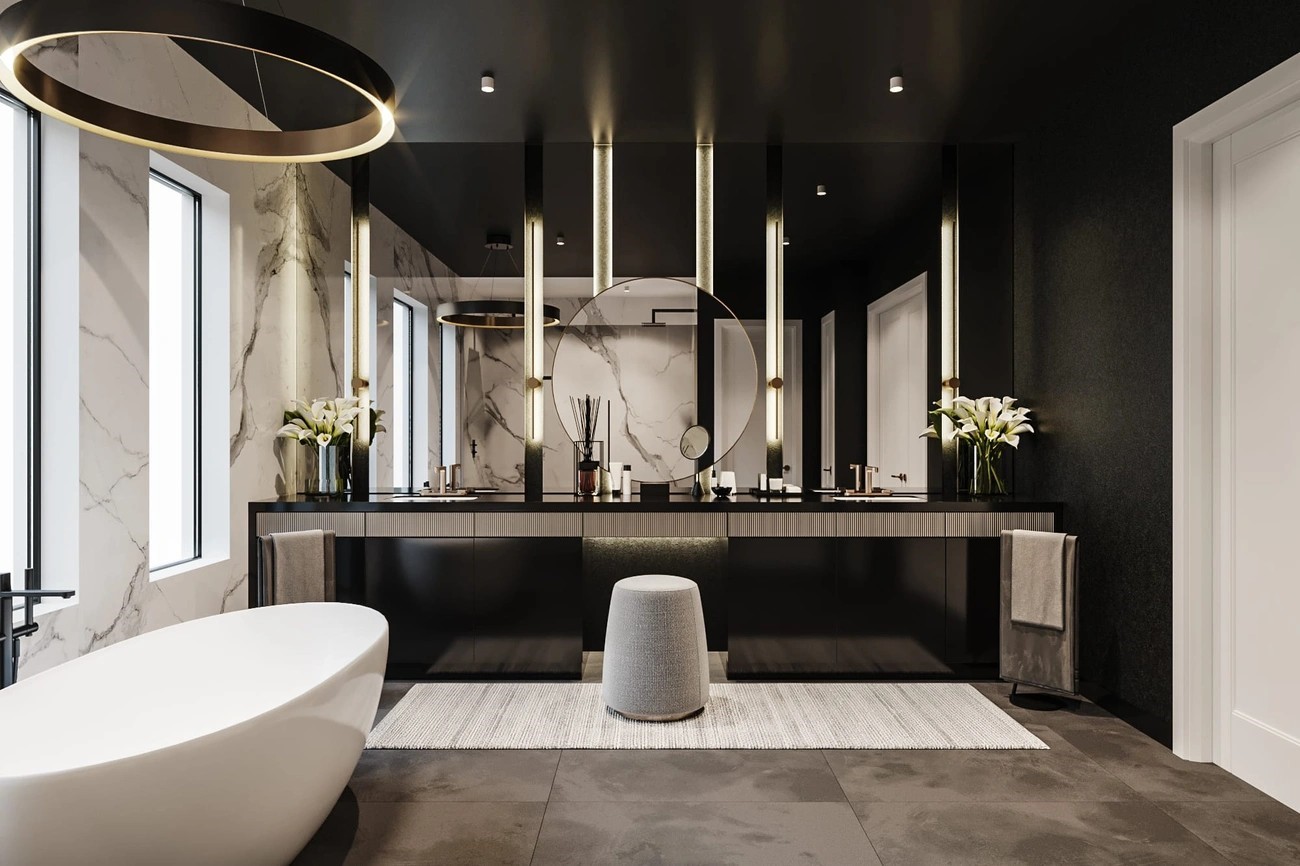
Dark ceilings make a bold statement in bathroom design, creating an unexpected element that transforms the entire space. While many homeowners instinctively choose white or light colors for bathroom ceilings, venturing into darker territory can yield remarkable results.
Black and charcoal tones
A black ceiling brings undeniable drama to bathrooms of all sizes. Dark ceilings serve multiple functions beyond mere esthetics. In spacious bathrooms, a black ceiling creates the illusion of less height, making the room feel more intimate and cozy. Conversely, rooms with unique architectural features like coffered or tapered ceilings experience the opposite effect—the dark color can actually create the illusion of more height when properly executed.
High-gloss black finishes reflect light beautifully, adding sophistication to the space. For those hesitant about true black, charcoal offers a slightly softer alternative that still delivers impressive visual impact. Benjamin Moore's Black 01, with its inky blue undertones, can amplify a room's volume or create a cocooning effect depending on the space.
Pairing with light walls
The contrast of a dark ceiling with light walls creates striking visual appeal. This combination introduces sophisticated dimension that standard white ceilings simply cannot achieve. Nevertheless, some designers caution that this dramatic contrast might create the feeling that "the weight of the room is hanging over your head".
Despite this concern, many designers embrace the tension created by this juxtaposition. The dark ceiling provides exceptional contrast that makes accessories pop—enhancing the vibrancy of other colors in the room and adding depth to metallic accents. For optimal results, consider choosing a ceiling shade that's 2-3 shades darker than your wall color to create sufficient contrast.
Importantly, bathroom lighting plays a crucial role when implementing a dark ceiling. The dramatic impact is often most appreciated at night under artificial lighting, when the space transforms into a jewel-box-like environment. Proper lighting ensures the dark ceiling feels intentional rather than oppressive.
6. Highlight with Crown Molding
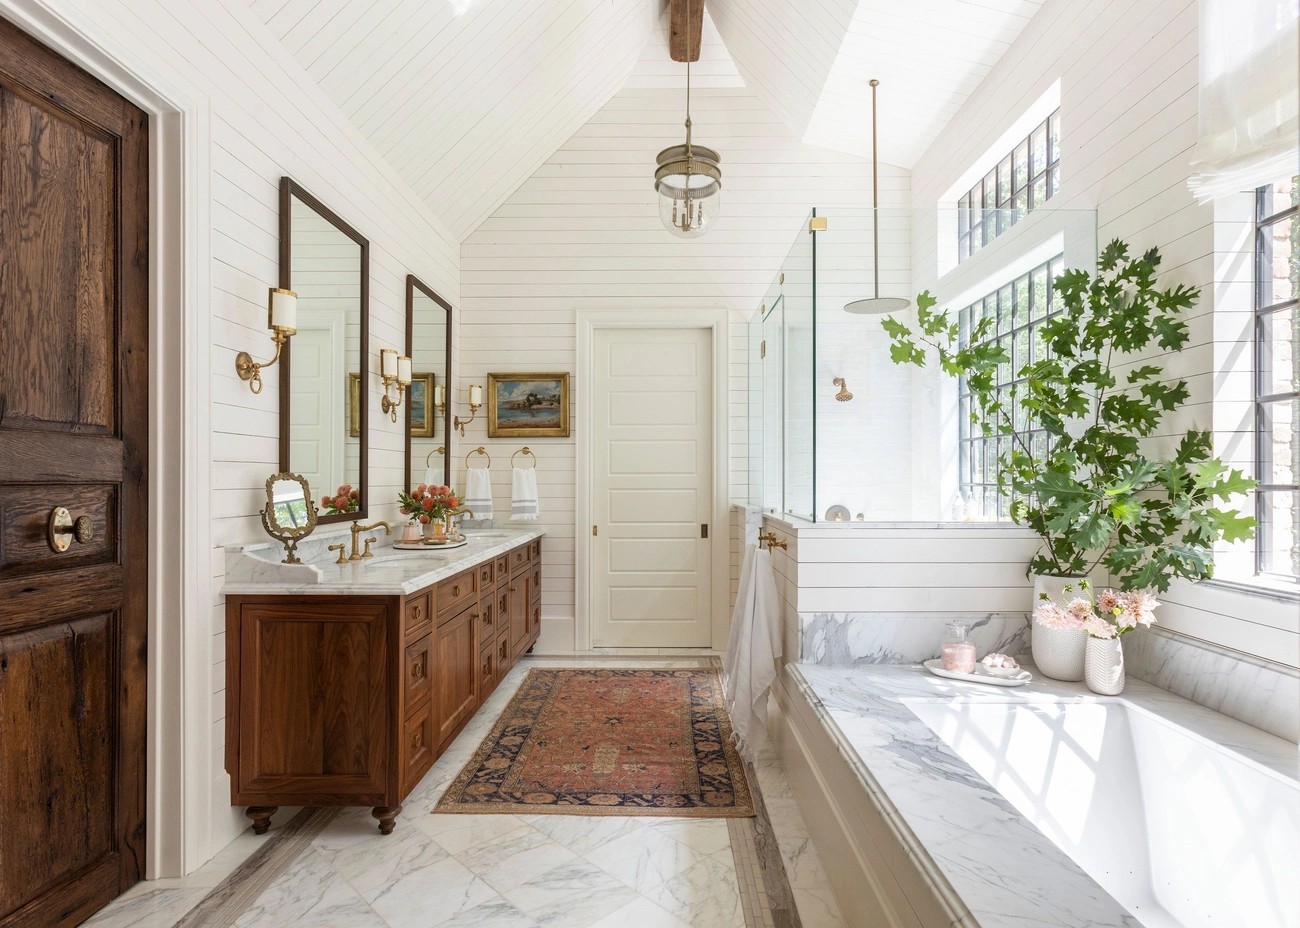
Crown molding adds architectural interest to bathroom ceilings, creating a sophisticated transition between walls and ceiling that instantly elevates the space. Beyond its decorative appeal, crown molding effectively masks flaws where walls and ceiling meet while making ceilings appear higher.
Painted vs. natural molding
The finish of your crown molding dramatically impacts the overall bathroom esthetic. Painted crown molding, typically in white or cream, provides a clean, classic look that complements various bathroom styles. Alternatively, natural wood molding brings warmth that no other material can match.
For bathrooms, material selection remains crucial. Solid wood molding requires proper finishing to minimize shrinking and swelling in humid environments. If you prefer wood's natural beauty, ensure it's treated with a waterproof layer after being painted or sealed.
When deciding between painted or natural finishes, consider:
Room size: Painted molding in the same color as the ceiling creates a seamless look in smaller bathrooms
Design style: Natural wood suits rustic or traditional spaces, whereas painted molding typically complements modern designs
Contrast desires: Painted molding in a contrasting color adds graphic interest and creates a dignified, masculine vibe
Crown molding placement tips
Strategically placed crown molding enhances bathroom architecture without overwhelming the space. In small bathrooms, emphasize the slanted or top edge to make the room appear larger. For bathrooms with high ceilings, crown molding creates a more luxurious, spacious appeal—particularly effective with two-tone color schemes.
Beyond ceiling perimeters, consider these creative placement options:
Frame closet or bathroom doors (paint the door and molding a complementary color for visual impact)
Add to the outside corner of shower stalls
Use decorative trim to create rectangular areas that create the illusion of height
Remember, in moisture-prone bathrooms, material selection outweighs appearance. PVC, polyurethane, and flex molding consistently outperform wood in high-humidity environments, making them ideal choices for most bathroom applications.
7. Add a Decorative Wood Beam
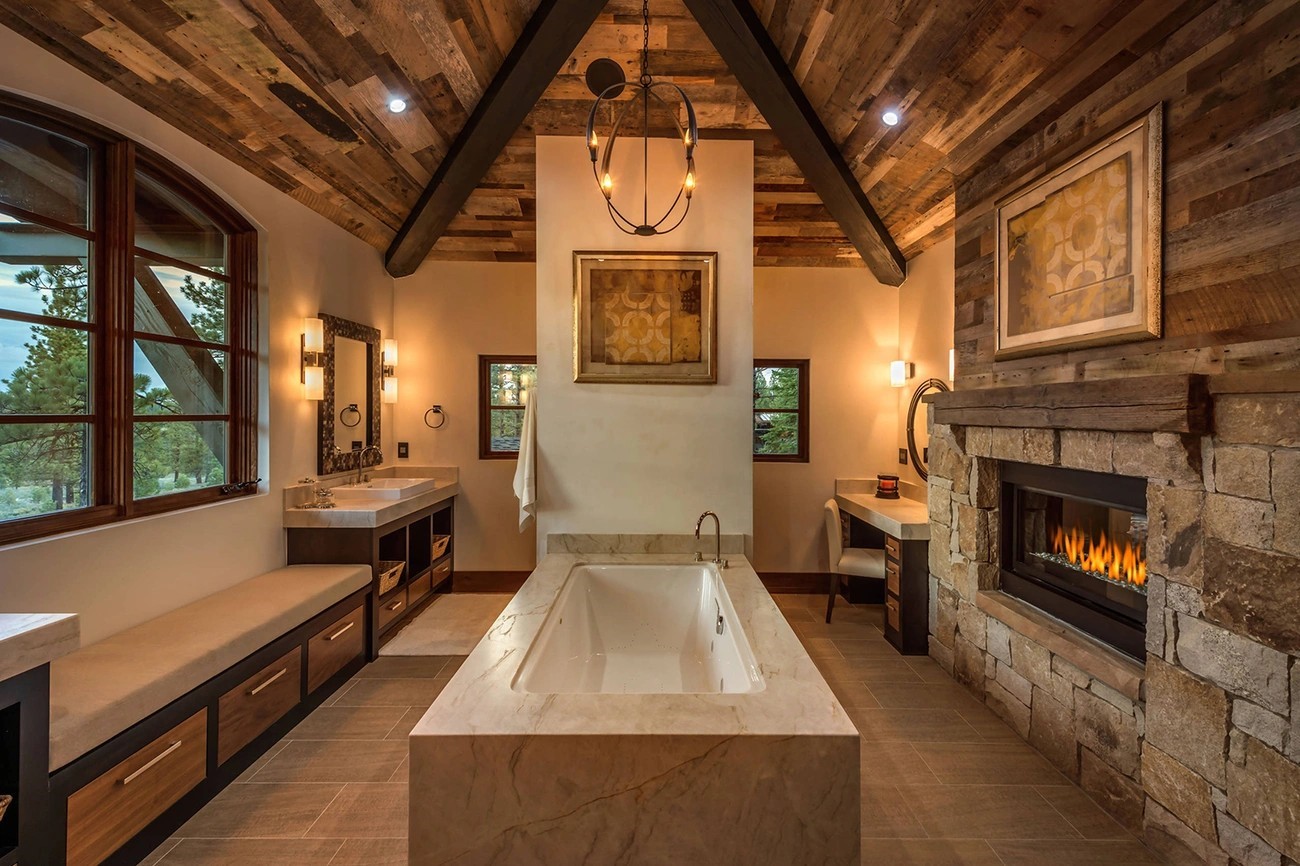
Decorative wood beams create instant character and architectural interest in bathroom spaces, connecting modern homes to timeless, handcrafted traditions. These overhead features add depth and dimension to otherwise flat ceilings, making even modest bathrooms feel more luxurious.
Rustic and modern beam styles
Wooden beams range from authentically rustic to sleekly contemporary depending on your bathroom's design esthetic. For traditional spaces, consider rich or dark-toned beams that create warming contrast against lighter ceilings. Alternatively, whitewashed or painted beams offer a more subtle, neutral touch that works beautifully in modern settings.
Faux beams present an excellent option for bathroom installations, given they're:
Lightweight and easy to install
Moisture-resistant when properly sealed
More budget-friendly than solid wood
Many homeowners opt for cedar fence pickets when creating DIY beams, as this wood naturally resists water damage. For professional-looking results, polyurethane faux beams perfectly mimic genuine wood texture without maintenance concerns—they won't split, crack, or dry out in humid bathroom environments.
Installation tips for small bathrooms
In compact bathrooms, strategic beam placement makes all the difference. A single statement beam can dramatically enhance the space without overwhelming it. To install beams in small bathrooms:
Consider scale—thin ceiling beams prevent the ceiling from feeling lower
Install cleats (2×4s) securely to ceiling joists first
Attach the three-sided hollow beam directly to the cleats
Space beams several feet apart to maintain openness in limited spaces
Box beams (hollow, three-sided designs) remain particularly practical as they allow you to conceal unsightly pipes, ductwork, or structural elements that might otherwise disrupt your bathroom's clean lines.
8. Create a Ceiling Arch or Vault
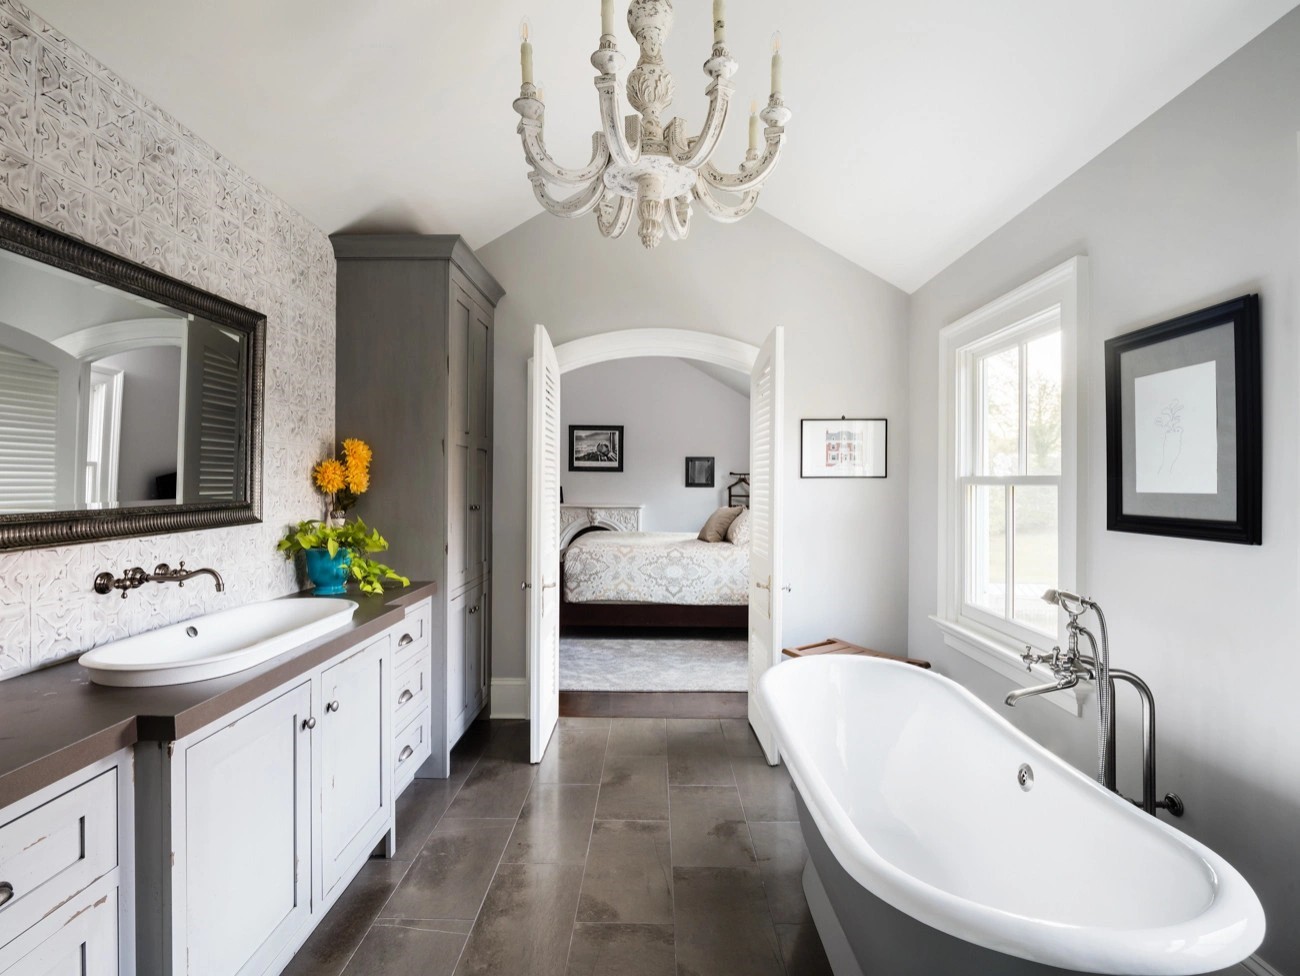
Arched ceilings elevate ordinary bathroom spaces into architectural showcases, creating an immediate sense of sophistication and visual interest. With their gentle curves and historical significance, these ceiling structures add character that flat surfaces simply cannot match.
When to use arched ceilings
Arched ceilings work exceptionally well in bathrooms that need spatial enhancement. The curved top of an arch adds elegance while introducing a sense of fluidity that makes bathrooms feel more open and airy. Initially, you might consider an arched ceiling to create the illusion of height—particularly beneficial for bathrooms with lower ceilings or those in smaller spaces. An arched doorway or window can visually expand the room's vertical dimensions, making it feel taller without structural changes.
Barrel vaults represent an excellent choice for master bathrooms, as they can span the entire width or be boxed out to a smaller section in the room's center. These designs effectively open up the space, creating a lighter, more spacious feel. Meanwhile, groin vaults offer versatility—they can be added over the tub, placed centrally, or designed to fit the entire bathroom.
Designing around sloped ceilings
Many bathrooms, primarily those in attics or under rooflines, come with challenging sloped ceilings. According to code requirements, bathrooms need ceilings at least 7 feet high, but in rooms with sloped ceilings, up to half the ceiling may be between 5 and 7 feet high.
For shower installation under slopes, ensure a minimum 30-inch by 30-inch interior space with at least 6 feet 8 inches of height at the showerhead. Consequently, when working with sloped ceilings, consider tiling them completely to protect surfaces from water damage while enhancing visual appeal.
9. Match Floor and Ceiling Tiles
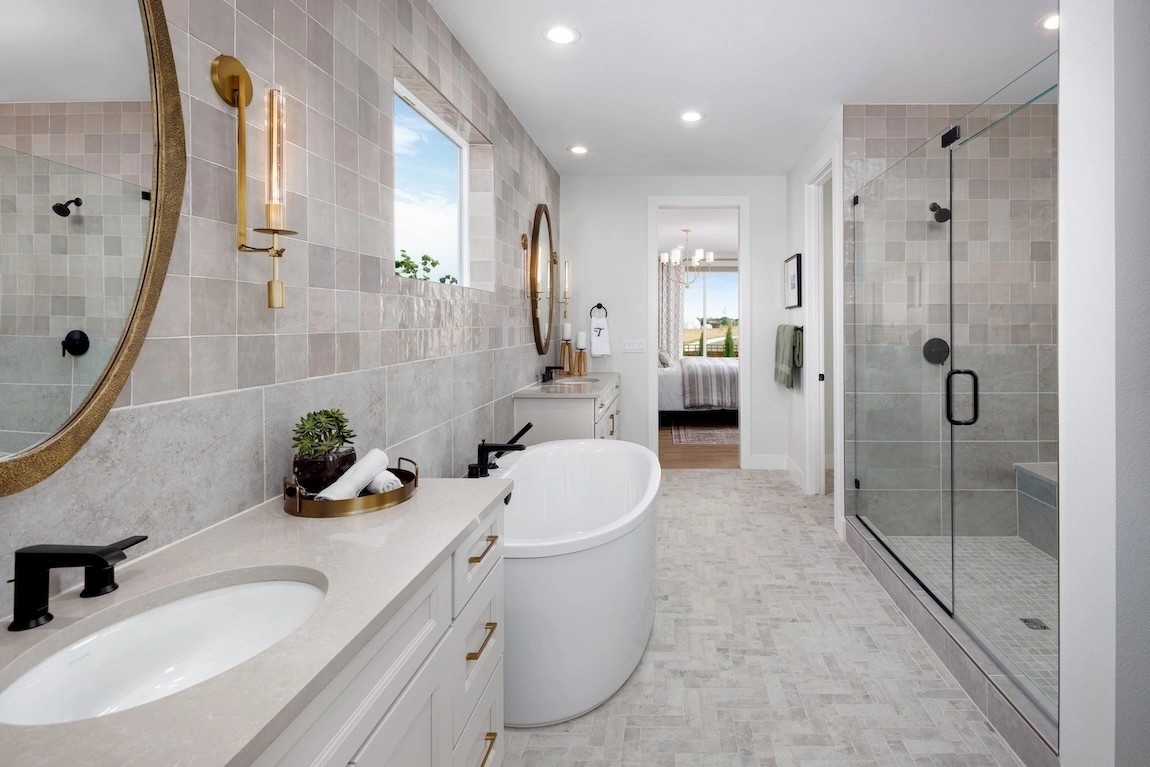
Creating a unified design statement through matching floor and ceiling tiles stands as one of the most impressive bathroom ceiling ideas. This approach eliminates visual breaks between surfaces, immediately enhancing the perceived size of your bathroom space.
Creating a seamless look
Matching floor and ceiling tiles creates a continuous visual flow that tricks the eye into seeing a larger space. Without horizontal lines breaking up the room, your bathroom gains an uninterrupted esthetic that feels expansive and luxurious. The reflective properties of tiles further enhance this effect by spreading natural light throughout your bathroom, making it seem brighter and more airy.
Large format tiles on both surfaces tend to make spaces look bigger, whereas smaller tiles can create intricate patterns that add character. For bathrooms with higher-than-average ceilings, combining matched tiles with light-toned upper portions can amplify the sense of openness.
Best tile types for this approach
When selecting tiles for both floor and ceiling, remember that not all tiles serve both purposes effectively. Floor tiles must have sufficient slip resistance—look for options with a P3 slip rating or higher for bathroom floors. Porcelain and ceramic tiles stand as excellent choices for this application as they resist moisture while offering design versatility.
For a truly seamless appearance, consider mosaic-style tiles that disguise the lines between section panels, creating a more unified look. Penny tiles, encaustic patterns, and luxury vinyl tiles provide additional options that work well for both surfaces.
10. Use Zellige or Handmade Tiles
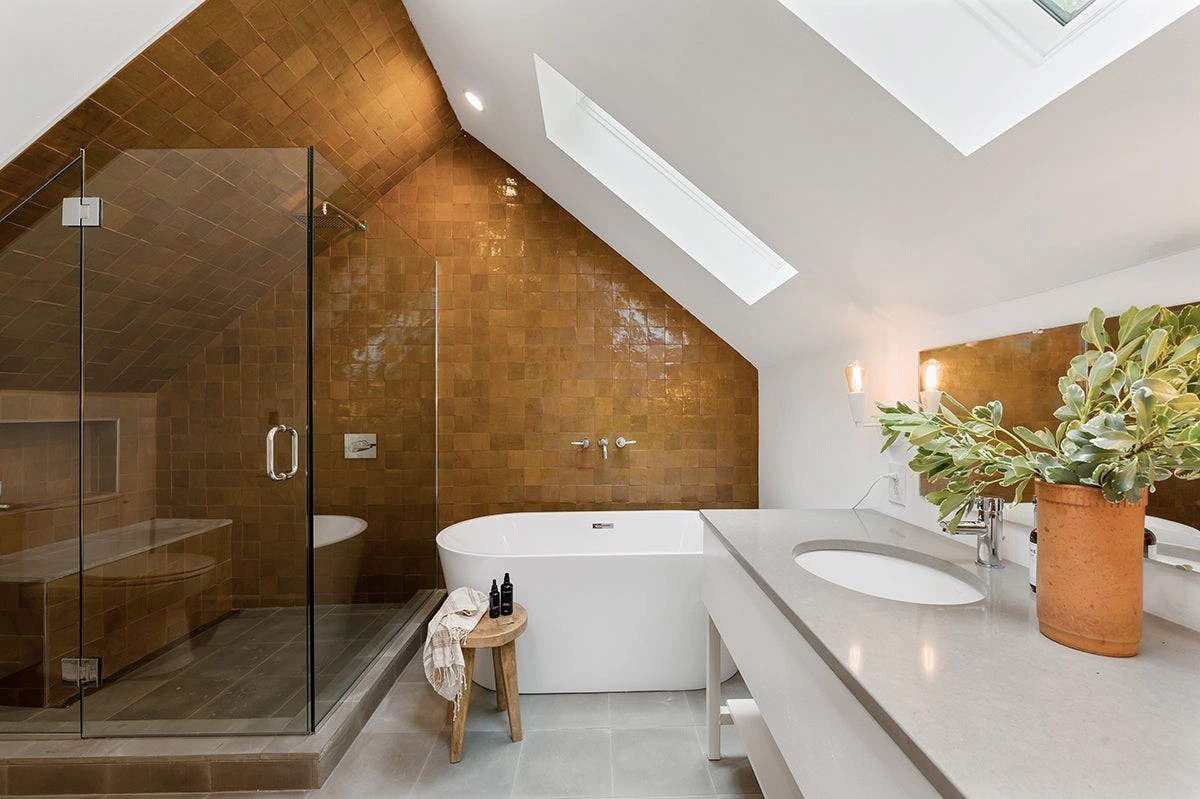
Zellige tiles stand as the perfect artisanal choice for bathroom ceilings seeking character with historical significance. These distinctive elements bring centuries-old craftsmanship directly into your modern bathroom space.
What are zellige tiles?
Zellige tiles, pronounced "zel-ij," represent a traditional Moroccan tile craft dating back over 1,000 years. Handcrafted from natural clay, dried in the sun, and fired in kilns, each tile is subsequently glazed and hand-chipped into its final form. What truly distinguishes zellige from mass-produced tiles is their deliberate imperfections—each piece possesses slight irregularities, variations in color, and unique surface characteristics.
These tiles feature vibrant colors with a glossy, almost iridescent finish that captures and reflects light beautifully throughout your bathroom. Their subtle inconsistencies create dynamic visual texture that mass-produced tiles simply cannot replicate.
Where to use them on ceilings
Bathroom ceilings offer an unexpected yet stunning location for zellige tiles. For truly immersive spaces, consider extending zellige from the walls up onto domed or vaulted ceilings. This technique maintains flowing lines while creating a sculptural, cocooning effect that transforms ordinary bathrooms into luxurious retreats.
Beyond full coverage, zellige tiles excel in highlighting architectural features—consider using them to accentuate arches, niches, or recessed areas of bathroom ceilings. The tiles' natural reflective properties can dramatically enhance bathroom lighting, making even smaller spaces feel brighter and more expansive.
Historically used in royal palaces, zellige brings timeless elegance to contemporary spaces. For bathroom ceilings specifically, lighter colors maximize the reflective qualities while darker shades create intimate, jewel-box environments.
11. Install a Skylight for Natural Light
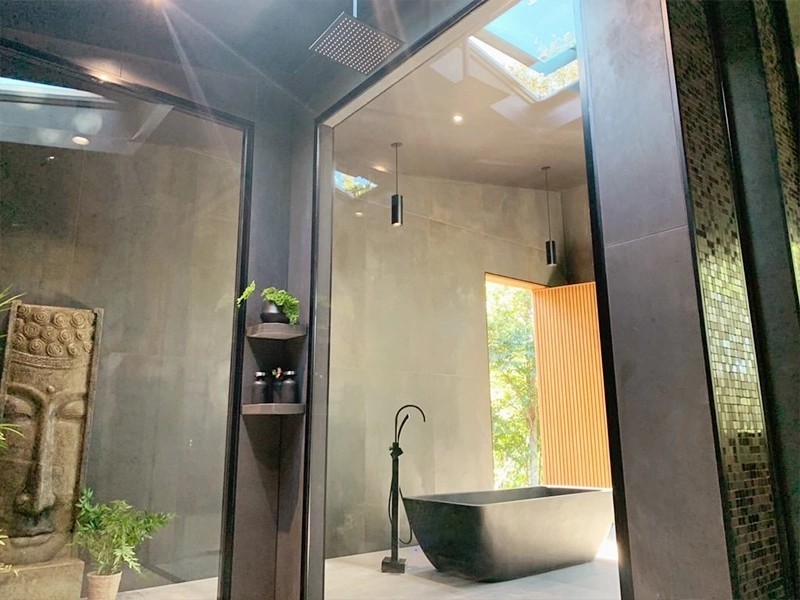
Natural light completely revitalizes bathroom spaces, creating an airy, refreshing atmosphere that artificial lighting simply cannot replicate. Skylights offer a perfect solution for bathrooms typically starved of windows and natural illumination.
Best placement for skylights
Strategic placement maximizes a skylight's impact in your bathroom. Positioning directly above showers or bathtubs creates a luxurious experience—imagine showering beneath sunlight or moonlight. Similarly, installing above vanity areas eliminates shadows during morning routines, providing even, diffused light ideal for makeup application or shaving. For smaller bathrooms, central ceiling placement distributes light uniformly throughout the space.
Consider your roof's pitch when planning installation, as this influences both placement options and installation requirements. Proper flashing remains essential for effectively repelling water and preventing leaks.
Skylight pros and cons
Skylights offer numerous benefits beyond esthetics. Ventilated models expel humid air naturally, reducing moisture and potentially eliminating the need for noisy bathroom fans. This improved ventilation helps combat mold and mildew formation. Furthermore, skylights maintain complete privacy while flooding the space with natural light—a combination traditional windows cannot achieve.
However, potential challenges exist. Condensation concerns can be addressed by pairing skylights with robust exhaust systems. Additionally, installation costs typically range from $200-$3000 depending on the model and complexity. Certainly, professional installation remains crucial, as improper installation risks costly leaks and water damage.
12. Try a Tray Ceiling for Depth
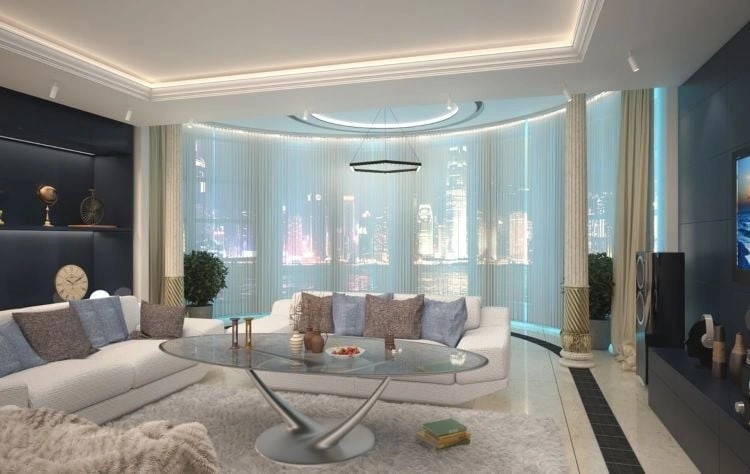
Tray ceilings introduce architectural dimension to bathrooms, creating visual interest through a recessed central portion that resembles a "tray." This distinctive design element adds depth without requiring major structural changes to your bathroom space.
Modern tray ceiling ideas
For contemporary bathrooms, a clean all-white tray ceiling creates a sophisticated look that maintains an airy feel. Double tray designs with thick white molding against darker wall colors add impressive depth and visual interest. Even in smaller bathrooms, a simple, unadorned tray ceiling feels decidedly modern. For those seeking bold style, consider painting the recessed portion a vibrant color—like tropical green in a Palm Beach-style space—while keeping walls neutral. Even more dramatic, try wrapping both walls and recessed ceiling in the same jewel tone for a color-drenched effect. Alternatively, install shiplap wood planks within the recess for warmth and texture.
Lighting options for tray ceilings
Lighting truly showcases a tray ceiling's architectural beauty. Perimeter cove lighting amplifies the ceiling's dimensions, particularly effective when combined with metallic ceiling finishes. For bathrooms centered around soaking tubs, a brass chandelier hung from the center of the tray creates an elegant focal point. Recessed fixtures provide practical illumination while maintaining clean lines. First thing to remember—lighting your tray ceiling adds ambiance while increasing your home's value. Even a simple ceiling fan works effectively when properly centered in a minimalist tray design.
13. Use Concrete for an Industrial Look
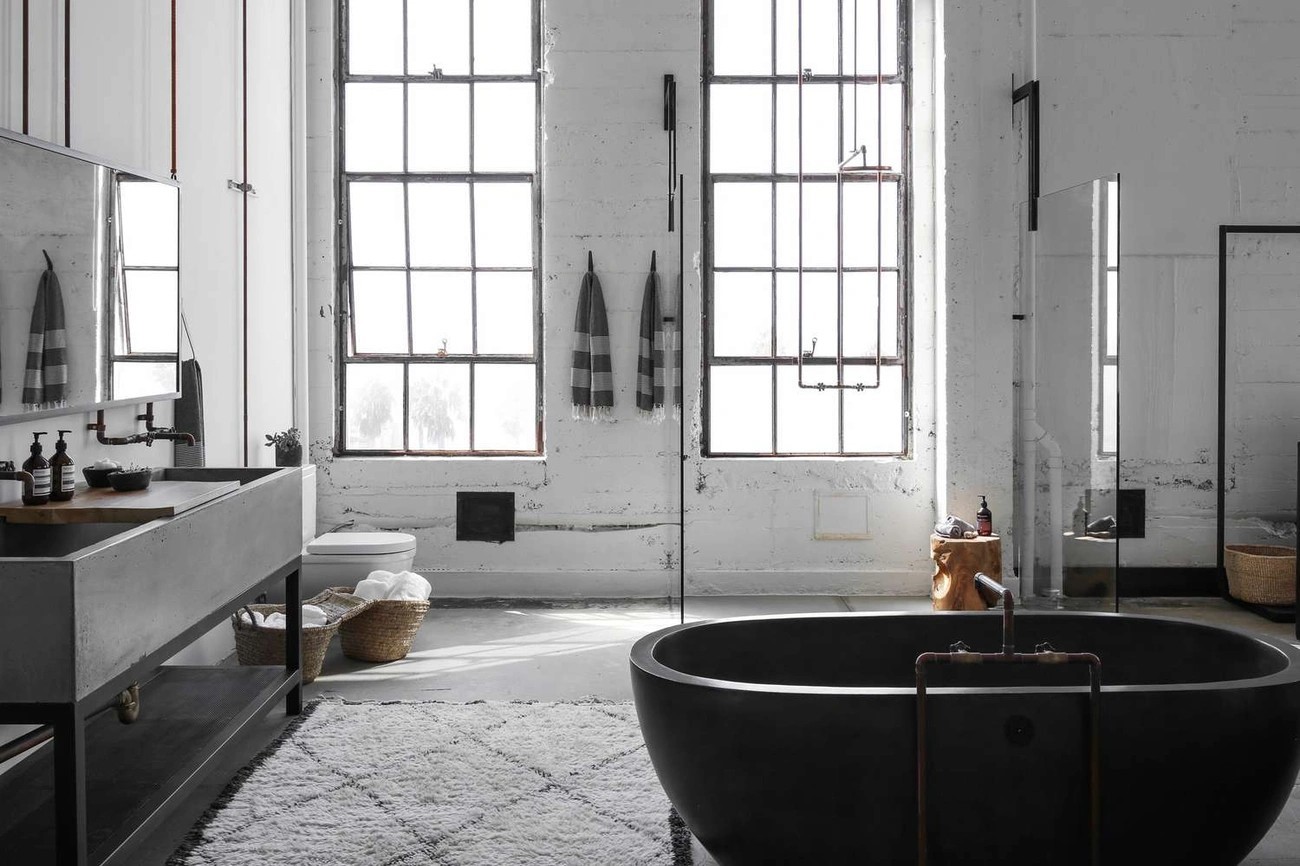
Concrete brings raw industrial character to bathroom ceilings, transforming ordinary spaces into striking architectural statements. This multipurpose material offers not only bold esthetics but thermal mass benefits as well.
Polished vs. raw concrete
Polished concrete delivers a sleek, refined ceiling finish that reflects light beautifully while maintaining an industrial edge. This smooth surface creates a contemporary look that works exceptionally well in minimalist bathroom designs. In contrast, raw unpolished concrete celebrates imperfections and variations in pattern and color, creating an authentic industrial atmosphere. The formwork used during installation dramatically impacts the final appearance—timber boards create what's called "timber-grained concrete," which offers greater texture and warmth.
Pairing with minimalist decor
Concrete ceilings shine brightest when combined with complementary elements. Primarily, consider pairing your concrete ceiling with:
Metal fixtures: Stainless steel or matte black fixtures against concrete create striking contrast.
Warm wood accents: Wooden elements balance concrete's coolness, preventing the space from feeling stark.
Integrated concrete elements: For cohesion, incorporate a polished concrete vanity or floor.
Exposed wiring, pipes, and ducts further enhance the industrial esthetic. In essence, concrete ceilings work magnificently in both small powder rooms and spacious master bathrooms, offering timeless appeal that grows more interesting with age.
14. Mix Wallpaper and Molding
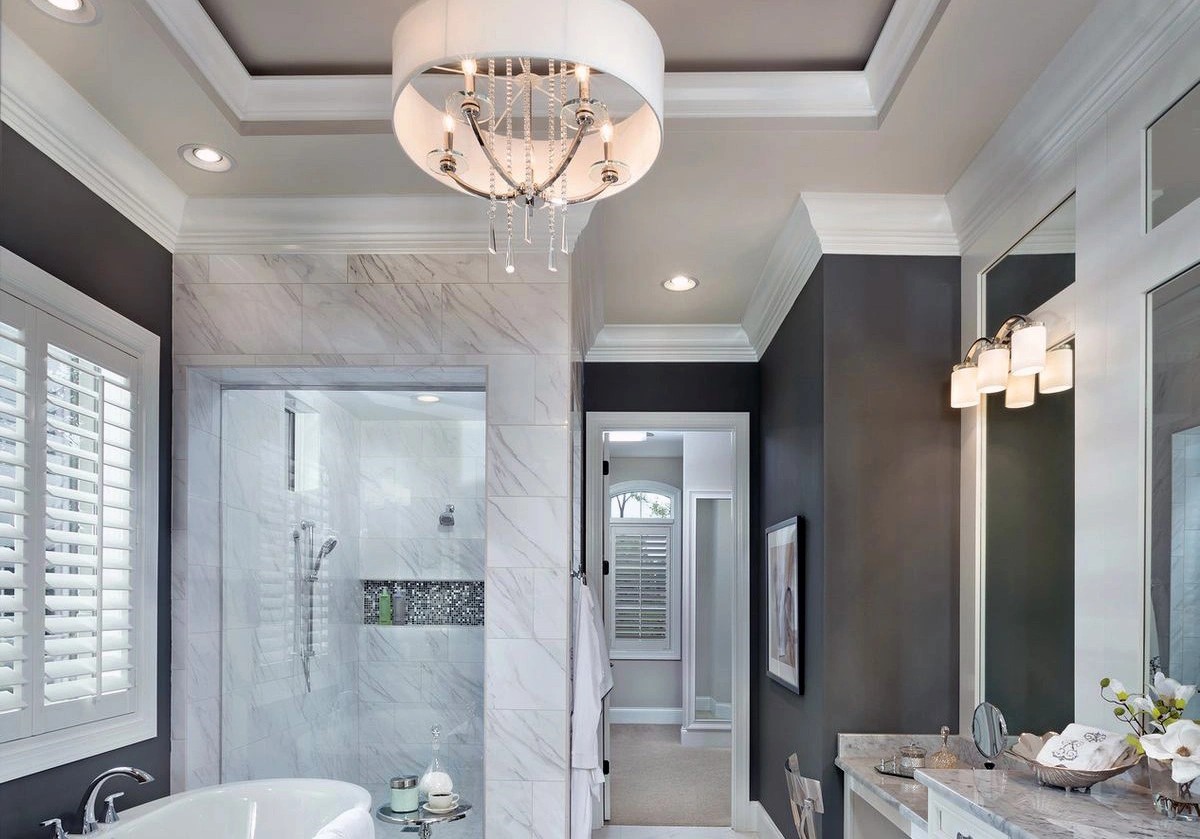
Combining wallpaper with decorative molding offers a sophisticated approach to bathroom ceiling design that adds depth through layered elements. Studio Peake exemplified this technique by pairing ornate painted crown moldings with stormy cloud wallpaper and a modern pendant light in a London bathroom.
Combining textures and patterns
The key to successful pattern mixing lies in achieving balance. Too little pattern creates a monotonous bathroom, while too much produces a chaotic space. Alongside geometric patterns that provide structure, consider florals or abstract designs for visual interest. For bathroom ceilings, avoid placing two similar-scale patterns near each other—instead, spread them throughout the space to create a pleasing rhythm. Ultimately, wallpaper on a tray ceiling paired with crown molding creates a highly decorative feel without overwhelming the room.
Color coordination tips
When pairing wallpaper with molding on bathroom ceilings, consider these color strategies: pull a color from your wallpaper pattern for the molding—perhaps using a shade from small elements like leaves rather than the dominant background; paint trim one shade darker than the wallpaper's dominant color for subtle depth; or create high contrast with dark molding against light wallpaper for a frame-like effect that showcases the ceiling design. For an elegant bathroom with metallic elements, copper-toned trim against damask wallpaper creates a glamorous glow under lamplight.
15. Add Ceiling Lighting as a Focal Point
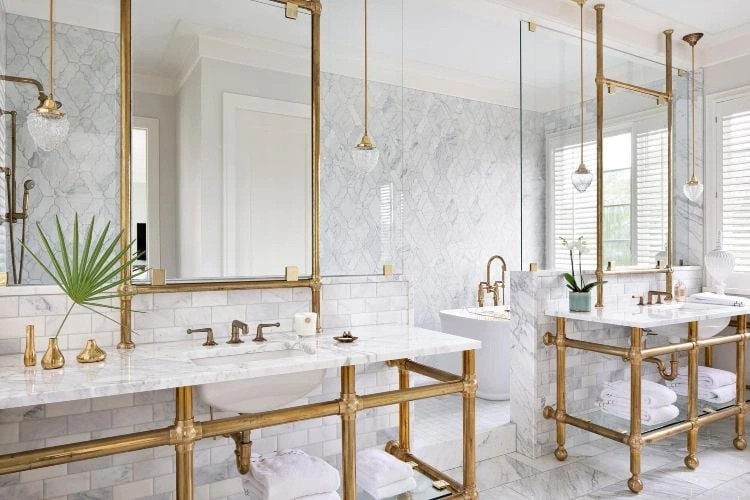
Lighting fixtures transform ordinary bathroom ceilings into spectacular focal points while providing essential illumination for daily tasks. Properly chosen ceiling lights elevate your bathroom design beyond mere functionality to create dramatic visual impact.
Bathroom ceiling lights ideas
Ceiling lights come in various styles that serve different purposes in bathroom spaces. Recessed lighting offers a sleek, polished look that sits flush with the ceiling—perfect for creating even illumination throughout the room. These fixtures, often called "can lights" or "pot lights," are energy efficient and last longer than standard bulbs. For wet areas like showers, waterproof recessed lights provide safe, directional lighting without competing with your streamlined design.
Therefore, consider placement carefully—in larger bathrooms, arrange recessed lights in straight lines for a neat, orderly appearance. Above all, lighting temperature matters; maintain consistent warmth across all fixtures to create a cohesive tone.
Chandeliers, pendants, and recessed lights
Undeniably, chandeliers make elegant statements in spacious bathrooms. These decorative fixtures must be UL-listed for damp spaces and installed at least eight feet above the tub or three feet away from it. Mini chandeliers work beautifully in smaller bathrooms or powder rooms.
Pendant lights add personality even to compact spaces, coming in various styles:
Drum pendants for calm, subtle environments
Globe or bubble designs for contemporary spaces
Lantern styles for traditional bathrooms
Primarily, layer different light types for comprehensive illumination. Combining overhead lights with sconces creates both ambient and task lighting—essential for morning routines.
Conclusion
Bathroom ceilings truly deserve attention when planning your next renovation project. Throughout these 15 ideas, we've seen how a thoughtfully designed ceiling transforms an ordinary bathroom into a personal sanctuary. From simple paint updates to architectural features like tray ceilings and skylights, countless options exist for every budget and style preference.
Your ceiling choice ultimately depends on several factors – moisture levels in your bathroom, existing architecture, personal esthetic, and budget constraints. Bold paint colors offer affordable drama, while natural materials like wood and stone bring warmth and texture. Alternatively, architectural elements such as crown molding paired with wallpaper create sophisticated depth that elevates the entire space.
Bathroom ceilings represent the final frontier of interior design – often overlooked yet full of potential. Taking this fifth wall from afterthought to feature creates a cohesive, intentional space that reflects your personal style. Which ceiling idea will you choose for your bathroom transformation? When planning your remodel, partnering with trusted bathroom renovation experts in Los Angeles ensures your ceiling design and entire bathroom stand the test of time.
Ready to Transform Your Bathroom?
At Arbor Construction, we specialize in complete bathroom remodelling in Los Angeles—from ceilings and custom finishes to full renovations. As trusted bathroom renovation experts in Los Angeles, our team combines craftsmanship, design expertise, and attention to detail to bring your vision to life.
Contact Arbor Construction today for a free consultation and let’s create a bathroom that feels as extraordinary as you imagine.
FAQs
1. What is the best material for a bathroom ceiling?
Moisture-resistant materials like PVC panels, fiberglass, and coated wood are excellent choices. These materials prevent mold, peeling, and water damage.
2. How expensive is it to replace a ceiling?
Ceiling installation costs $2 to $4 per square foot for drywall or up to $70 per square foot for a vaulted ceiling. Ceiling replacement costs $300 to $600 on average for a 12x12 bedroom
3. How to update the bathroom ceiling?
It may seem counterintuitive, but painting the ceiling the same color as the walls (like our basement bath) or even a darker color, such as Tricorn Black (like in our previous bathroom, pictured above) will visually elongate the ceiling height, making it seem taller.
4. Which bathroom ceiling design is the easiest to install?
Opt for lighter colors, glossy finishes, or tray ceilings to make the space feel taller and brighter. Skylights and LED backlighting are also excellent for small bathrooms.
5. How much does a bathroom ceiling cost?
The cost depends on the material and design. Simple paint jobs may cost a few hundred dollars, while custom coffered ceilings or skylights can cost several thousand.
